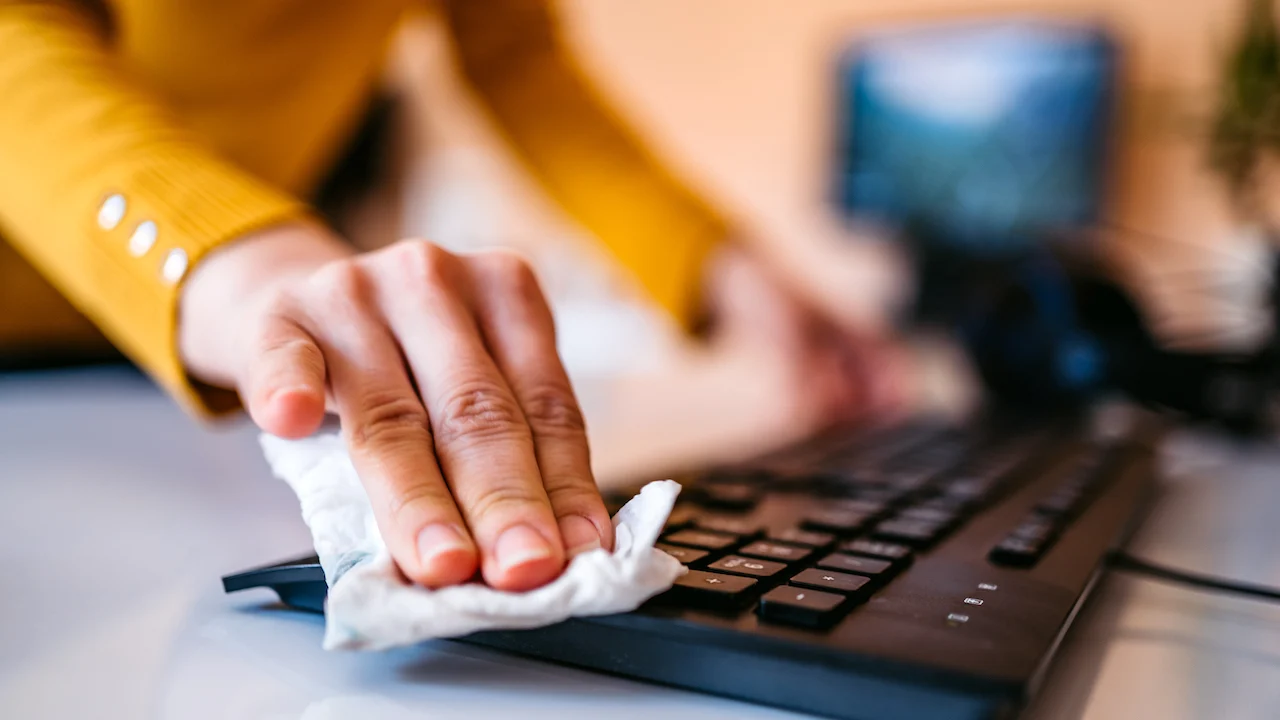
Cleaning your computer keyboard regularly is essential to maintain hygiene and ensure it functions properly. Here’s a step-by-step guide to cleaning it safely and effectively:
1. Turn Off and Unplug the Keyboard
- For wired keyboards, unplug it from the computer.
- For wireless keyboards, turn them off and remove batteries if possible.
- For laptop keyboards, shut down the laptop completely.
2. Shake Out Loose Debris
- Hold the keyboard upside down and gently shake it to dislodge crumbs, dust, and other debris.
- Use a can of compressed air to blow out particles from between the keys (hold at an angle to avoid damaging the switches).
3. Remove Keys (Optional – For Deep Cleaning)
- Only for mechanical or desktop keyboards with removable keys.
- Use a keycap puller (or a flat tool like a butter knife) to gently pry off keys.
- Soak keycaps in warm, soapy water, then dry completely before reattaching.
4. Clean the Keyboard Surface
- Dampen a microfiber cloth with isopropyl alcohol (70% or less) or a mild cleaning solution.
- Wipe down the keys and keyboard surface (avoid excess moisture).
- For sticky spots, use a cotton swab dipped in alcohol.
5. Disinfect the Keys
- Use disinfecting wipes (alcohol-based, not bleach) to kill germs.
- Avoid excessive liquid that could seep underneath the keys.
6. Let It Dry Completely
- Allow the keyboard to air dry for at least 10-15 minutes before reconnecting or turning it on.
7. Reassemble & Test
- Reattach any removed keys.
- Plug in or turn on the keyboard and test all keys.
Additional Tips:
- Avoid: Harsh cleaners, bleach, excessive water, or vacuum cleaners (static risk).
- Frequency: Clean lightly every 1-2 weeks; deep clean every few months.
- Laptop Keyboards: Be extra gentle—avoid removing keys unless you’re confident.
By following these steps, your keyboard will stay clean, functional, and germ-free!
We have to talk about your keyboard. It likely has more germs than a toilet seat, which is gross but can also disrupt your device’s functionality. With spring upon us, now is the perfect time to clean things up. Disconnect or turn off your keyboard, clear off a work area, and follow these steps.
Place the keyboard on a large cloth or clear surface and turn it upside down, giving it a few good shakes. With the keys facing down, tap the back, then hold the board at different angles and pat it firmly but gently across the entire surface to knock free additional loose particles. Expect a cascade of debris. If you’re using a keyboard with removable keycaps (a mechanical keyboard, for instance), carefully pull those off and give the panel another upside-down shake.
Now to get those particles even a brush can miss. Compressed canned air dislodges dust and dirt with a pressurized blast. Before inserting the straw-like plastic hose and blasting away, though, make sure there are no items nearby that will take on whatever gets knocked out of your keyboard.
You might even want to take this part outside or do it over a bathtub or sink. Just remember that canned air tends to create condensation, so be sure to leave some room between the keyboard and hose to avoid any moisture that could damage inner circuitry.
Prop the keyboard sideways on a steady surface, then, using the duster as directed, aim the straw at an angle along the crevices for a series of short bursts. Give the keyboard another few taps, and repeat the process until you’re satisfied. You may be surprised at just how much flies out, even if you don’t eat at your desk or have pets who climb across your keyboard at the most inopportune times. Removing the keycaps will make this process all the more effective.


